How to build a live activity with Expo, SwiftUI and React Native
Published on February 5th, 2025
Widgets & native code integration with React Native
- react-native
- expo
- swiftui
- live-activity
- apple
- ios
- mobile
As you may know, I built a Pomodoro Timer while live streaming on Twitch. This was a fun way to learn about modern Expo and share my learnings with my community. On January 25, I decided to do another round. I’m now rewriting the very same application, still with Expo, but with much more features, cuz you know, I have to show people skills.
Something that people has been asking me to add to my app are widgets and specifically live activities on iOS. This article will break down how I did it.
I went kind of viral on Twitter, for a post about programming (Yeah, I’m still calling it Twitter)
We DID IT!
React Native + Expo + Live Activity + Custom module to control the live activity! pic.twitter.com/2q1LU792gl
— chris, soy dev reloaded (e/xhausted) (@LLCoolChris_) February 2, 2025
Requirements
I’m going to assume that you have a basic understanding of React Native and Expo, as I won’t be going deep into Expo-related details. Some Swift basic knowledge is also appreciated but not required.
Make sure to have an environment ready for React Native, at the time of writing:
- XCode 16.2 (check your version with
xcodebuild -version) - Cocoapods 1.16.2
- Node 20+
For this example, we going to use a little blank Expo application. Clone the
base tag of this repo:
git clone --depth=1 --branch base git@github.com:Christopher2K/live-activity-example.gitor
git clone --depth=1 --branch base https://github.com/Christopher2K/live-activity-example.gitIf you’re using HTTPS, please do yourself a favor and upgrade to use GitHub over SSH!
This project contains a blank Expo v52 application under the managed workflow, with Expo Router, Typescript and the developement client already setup. As we are about to write custom native code, Expo will take care of generating an XCode project that will be able to build allour non-standard stuff. It seems complicated, but this is where Expo shines: it allows you to keep the benefits of the managed workflow, while still being able to go out of the Expo way and do weird stuff on both Android and iOS sides. All the benefits, without the native headaches.
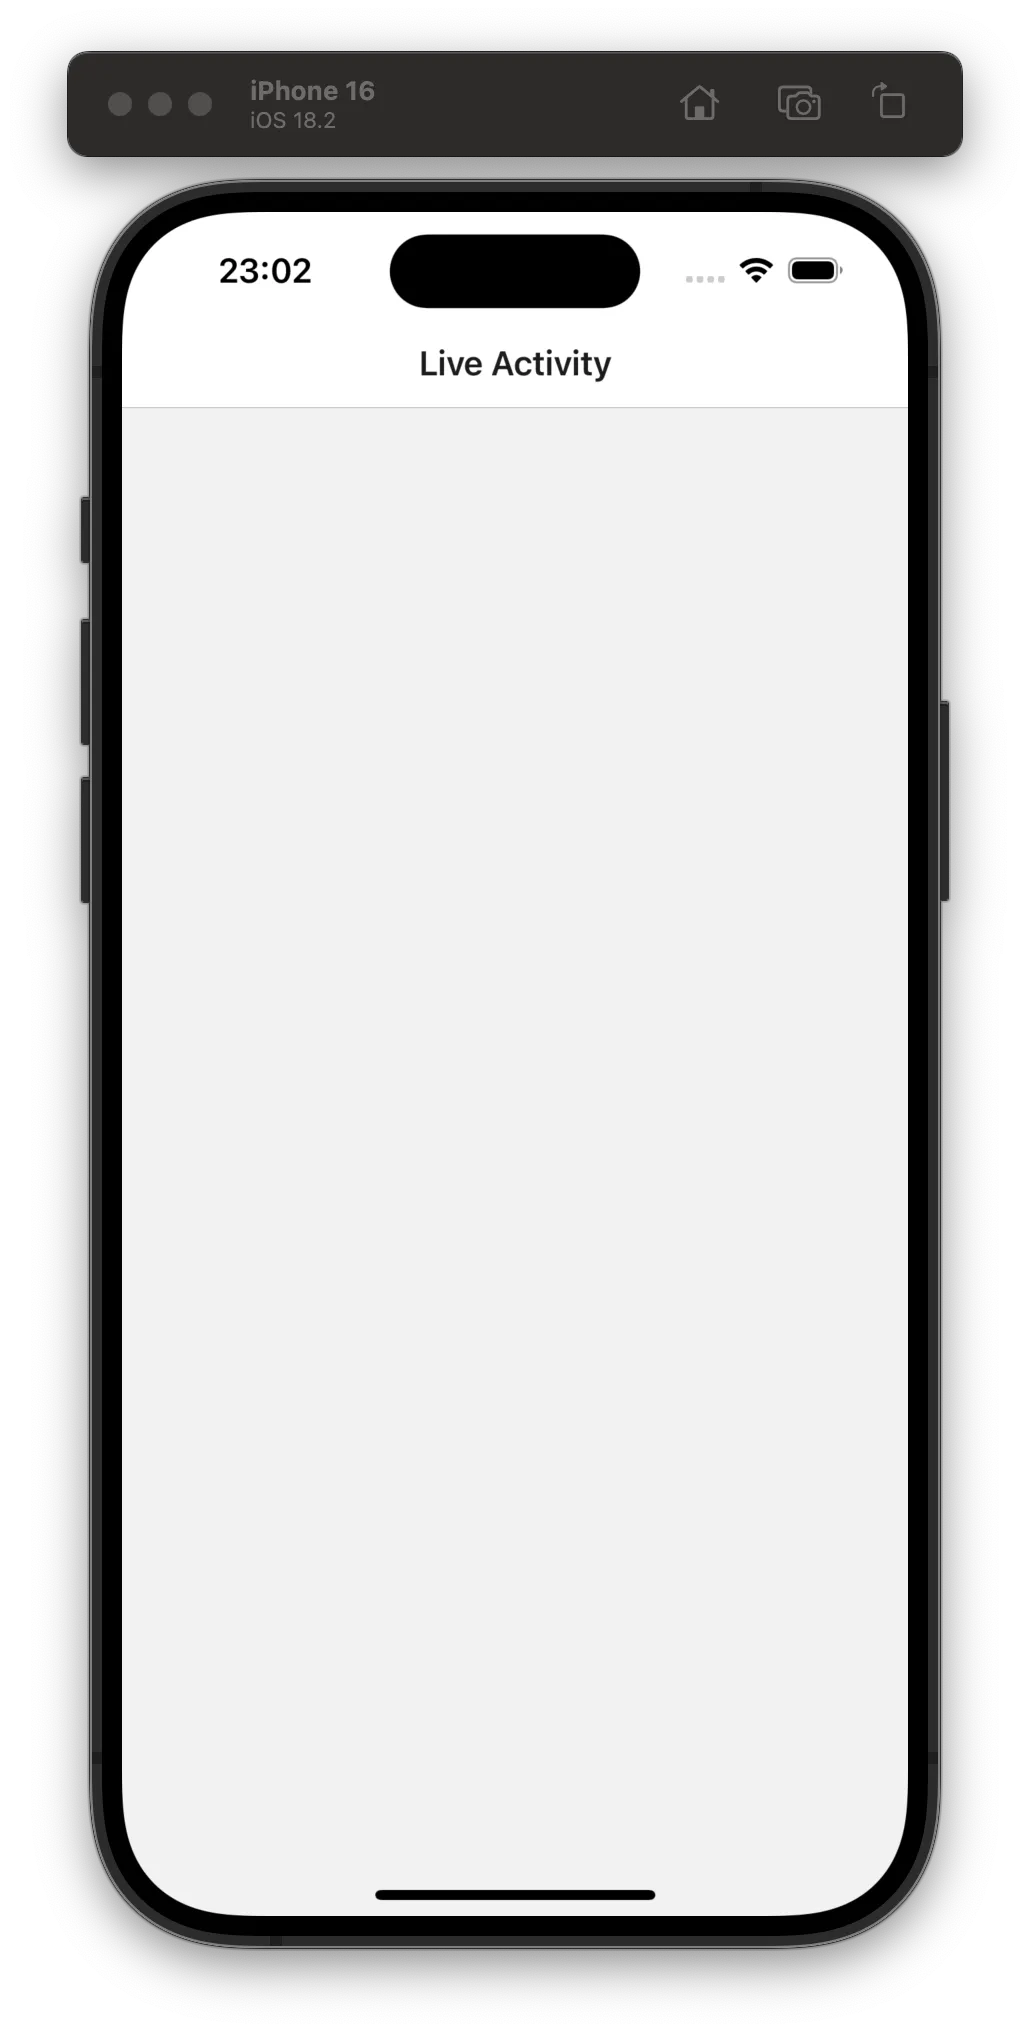
To see if this project is working, just run npm install and then,
npx expo run:ios -d, and then, select an iOS simulator. After the build
process, this is what you should see:
Now that we have our base app, here’s what we’re going to build:
- Another iOS target that will contain our Live Activity; a target being an “extension” of your app like widgets, iMessage extensions, etc.
- A custom native module that will let our app to control the live activity
Create an iOS target
Evan Bacon 🥓 (that’s his real name) wrote an amazing experimental expo-plugin that can help you create and add another taget to your Expo app. We need this in order to create a target for the live activity.
You can go ahead start the plugin installation by running:
npx create-targetIf everything goes well, you should see instructions on how to add the expo plugin to your config file:
❯ npx create-target
Cannot automatically write to dynamic config at: app.config.tsPlease add the following to your Expo config{  "plugins": [    "@bacons/apple-targets"  ]}
Go ahead, edit the app.config.ts file in the root folder and add the plugin to
the plugins array as shown above.
Run again the npx create-target command. Now with the plugin installed, you
should see a menu with all the targets you can add to your project. Use the
arrow keys to select Widget then, press enter Here’s the output:
❯ npx create-target
[bacons/apple-targets] Expo config is missing required ios.appleTeamId property. Find this in Xcode and add to the Expo Config to correct. iOS builds may fail until this is corrected.✔ Choose a target: › WidgetWriting expo-target.config.js fileWriting Info.plist fileTarget created! Run npx expo prebuild -p ios to fully generate the target. Develop native code in Xcode.
See the warning about
ios.appleTeamId? Follow the instructions in the terminal to add it to your app.config.ts file
The process generated a /targets/widget folder with a bunch of Swift files in
it.

Let’s clean this up a bit, as we don’t need the files unrelated to the live activity itself.
rm -rf targets/widget/WidgetControl.swift targets/widget/widgets.swift targets/widget/AppIntent.swiftGo to the index.swift file and remove the following lines as we deleted some
files:
import WidgetKitimport SwiftUI
@mainstruct exportWidgets: WidgetBundle {    var body: some Widget {        // Export widgets here        widget()        widgetControl()        WidgetLiveActivity()    }}
What we’re going to do next is edit the targets.widget/expo-target.config.js
file. This is basically a configuration file that will help Expo know what is
the target and what should be included when building it. Let’s add all
frameworks (= libraries) we need for our live activity:
/** @type {import('@bacons/apple-targets/app.plugin').ConfigFunction} */module.exports = (config) => ({ type: "widget", icon: "https://github.com/expo.png", entitlements: { /* Add entitlements */ }, frameworks: ["SwiftUI", "ActivityKit"],});SwiftUI and ActivityKit both contains the parts that we need to build out
the UI of our live activity
Next up, we need to configure our app so that it can support live activities. Go
to the app.config.ts and add the following:
const config: ExpoConfig = { // Your exiting config ios: { // Existing iOS config infoPlist: { NSSupportsLiveActivities: true, }, },};We’re all set for the target. Let’s try to regenerate the XCode project and then a native build to see if we didn’t miss anything. In the project root folder, run these commands:
rm -rf iosnpx expo prebuild -p iosnpx expo run:iosYour app should build and run smoothly on your iOS simulator!
If you’re curious, check out the generated Podfile
ios/Podfile. At the end of the file, expo-apple-targets plugin added some code to supports our new added target.
Create a view for our live activity
This is the fun part as it involves writing Swift UI code, using XCode. I love Swift but I hate XCode, but that’s for another article… Let’s open our project under XCode with the following command:
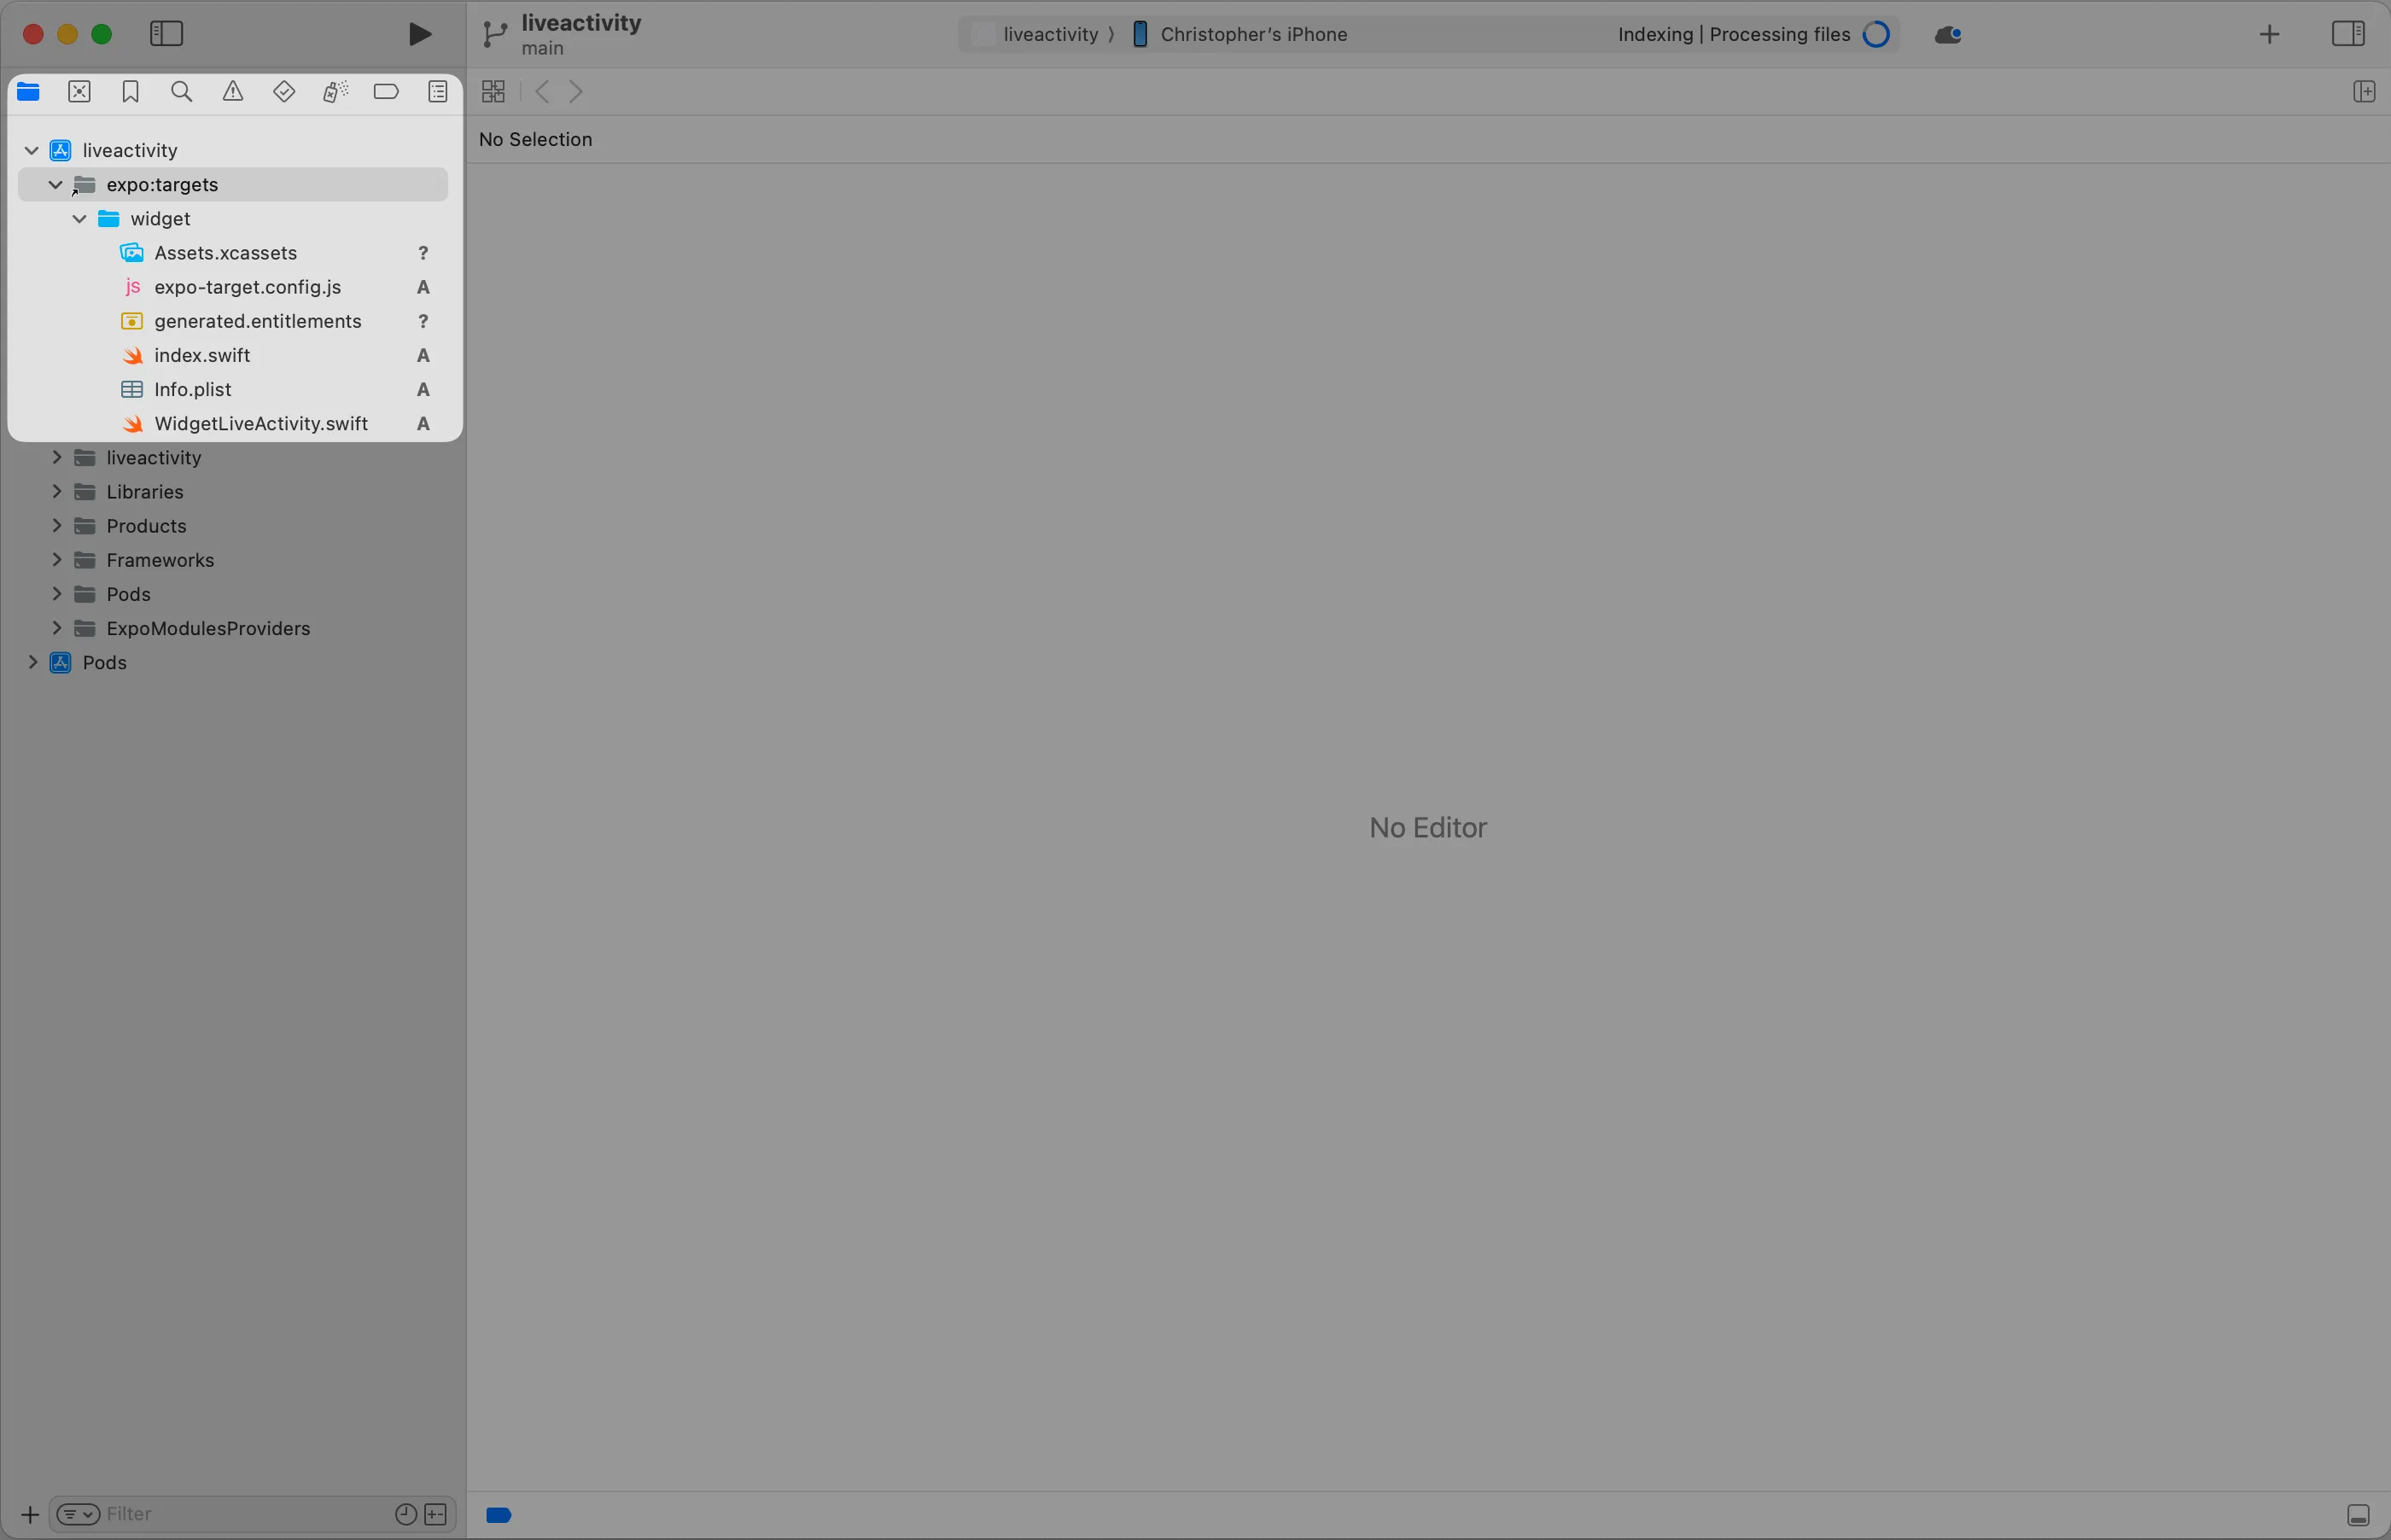
xed iosOn XCode, open the Project Navigator. You should see a virtual folder
expo:targets containing our widget folder with all the files generated by
expo-apple-targets.
A live activity needs data from your app right? We have to define the shape of the data we will be passing from the Typescript layer to the live activity.
In the widget folder, let’s create a Attributes.swift file. We can start with
something simple: we’re going to pass down a String and an Int.
import ActivityKitimport SwiftUI
public struct MyLiveActivityAttributes: ActivityAttributes {  public struct ContentState: Codable & Hashable {}
  public typealias MyLiveActivityState = ContentState
  public let customString: String  public let customNumber: Int}
This file contains a struct that implements the protocol ActivityAttributes.
This protocol expects our struct to contain a sub-struct - ContentState - that
represents any data that can change (be updated) during the lifetime of the same
live activity. We are not going to use this feature in this article, but keep in
mind that it’s something possible! Let’s keep this sub-struct empty.
The properties of the root struct are the one that we will be passing down from the Typescript layer.
Now, open the WidgetLiveActivity.swift and paste the following code:
import ActivityKitimport WidgetKitimport SwiftUI
struct WidgetLiveActivity: Widget {    var body: some WidgetConfiguration {      ActivityConfiguration(for: MyLiveActivityAttributes.self) { context in            // Lock screen/banner UI goes here            VStack {              Text(context.attributes.customString)            }        } dynamicIsland: { context in            DynamicIsland {                // Expanded UI goes here.  Compose the expanded UI through                // various regions, like leading/trailing/center/bottom                DynamicIslandExpandedRegion(.leading) {                    Text("Leading")                }                DynamicIslandExpandedRegion(.trailing) {                    Text("Trailing")                }                DynamicIslandExpandedRegion(.bottom) {                    Text("Bottom")                }            } compactLeading: {                Text("L")            } compactTrailing: {                Text("T")            } minimal: {                Text("M")            }        }    }}
#Preview(  "Lockscreen View",  as: .content,  using: MyLiveActivityAttributes(customString: "Hello World", customNumber: 1)) {  WidgetLiveActivity()} contentStates: {  MyLiveActivityAttributes.MyLiveActivityState()}
This file represents the basic structure of a live activity view. It uses the same syntax as other SwiftUI views. You can add UI for different states of the live activity:
- when it’s on the lock screen
- when it’s expanded (phone is unlocked)
- when it’s not expanded (phone is unlocked)
- when it doesn’t have the priority and is on
minimalmode
The data passed to the activity is inside the context.attributes property.

If you’d like to know more about how to build UI with SwuiftUI, check out this introduction by Apple themselves: SwiftUI Concept Tutorial
Create a native module to control the live activity
We have the target and its associated view ready. Let’s create a way to start or stop the live activity. We need our Typescript layer to be able to call a native swift function. This is why Native modules exists and are so important. Creating one, when using Expo is straightforward. Let’s start by running the following command in the project root:
npx create-expo-module@latest --localAs a name, enter activity-controller and then pick all the default options.
Here’s what you should see:
The local module will be created in the modules directory in the root of your project. Learn more: https://expo.fyi/expo-module-local-autolinking.md
✔ What is the name of the local module? … activity-controller✔ What is the native module name? … ActivityController✔ What is the Android package name? … expo.modules.activitycontroller
✔ Downloaded module template from npm✔ Created the module from template files
✅ Successfully created Expo module in modules/activity-controller
You can now import this module inside your application.For example, you can add this line to your App.js or App.tsx file:import ActivityControllerModule './modules/activity-controller';
Learn more on Expo Modules APIs: https://docs.expo.dev/modulesRemember to re-build your native app (for example, with npx expo run) when you make changes to the module. Native code changes are not reloaded with Fast Refresh.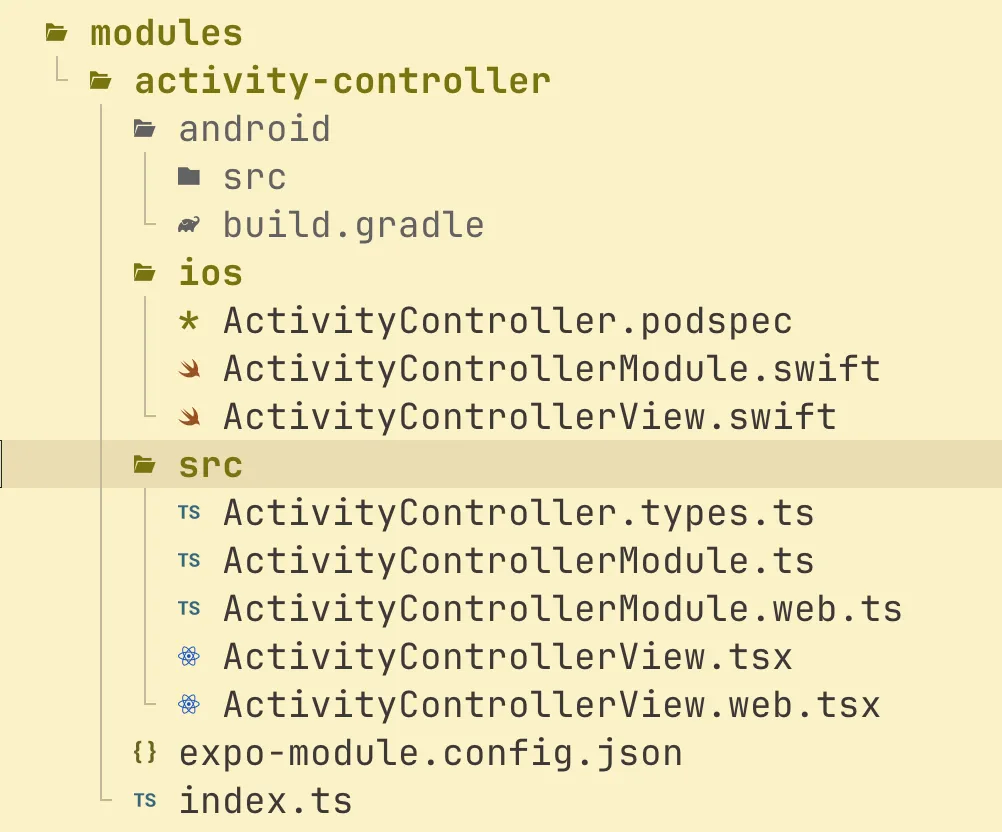
Let’s do some cleanup. Let’s remove all the files we don’t need here:
rm -rf \modules/activity-controller/android \modules/activity-controller/src/ActivityControllerModule.web.ts \modules/activity-controller/ios/ActivityControllerView.swift \modules/activity-controller/src/ActivityControllerView.*Then, edit modules/activity-controller/expo-module.config.json to remove the
android configuration object:
{ "platforms": ["apple", "android", "web"], "platforms": ["apple"], "apple": { "modules": ["ActivityControllerModule"] }, "android": { "modules": ["expo.modules.activitycontroller.ActivityControllerModule"] }}Lastly, create an android-only stub file for our module:
touch modules/activity-controller/src/ActivityControllerModule.android.tsAlright let’s write some code then. We need two functions, one to start the live
activity and one to stop it. Open the ActivityController.types.ts file and
replace the content with the following:
export type LiveActivityParams = {  customString: string;  customNumber: number;};
export type StartLiveActivityFn = (  params: LiveActivityParams,) => Promise<{ activityId: string }>;
export type StopLiveActivityFn = () => Promise<void>;
export type IsLiveActivityRunningFn = () => boolean;
This represents the contract our module has to follow on the native side. Open
ActivityControllerModule.ts and replace the content with the following:
import { requireNativeModule } from "expo";
import * as types from "./ActivityController.types";
const nativeModule = requireNativeModule("ActivityController");
export const startLiveActivity: types.StartLiveActivityFn = async (params) => {  const stringParams = JSON.stringify(params);  return nativeModule.startLiveActivity(stringParams);};
export const stopLiveActivity: types.StopLiveActivityFn = async () => {  return nativeModule.stopLiveActivity();};
export const isLiveActivityRunning: types.IsLiveActivityRunningFn = () => {  return nativeModule.isLiveActivityRunning();};
export const areLiveActivitiesEnabled: boolean =  nativeModule.areLiveActivitiesEnabled;
Do the same for the android stub file:
export const startLiveActivity: types.StartLiveActivityFn = async () => {  return Promise.resolve({ activityId: "" });};
export const stopLiveActivity: types.StopLiveActivityFn = async () => {  return;};
export const isLiveActivityRunning: types.IsLiveActivityRunningFn = () => {  return false;};
export const areLiveActivitiesEnabled: boolean = false;
And now, let’s edit our barrel file to export those functions:
export * from "./src/ActivityController.types";export * from "./src/ActivityControllerModule";We have everything en place to start and stop the live activity on the React Native side. Now, we can focus on the real deal, the native code.
First of all - and this is a limitation that I couldn’t get around - we need to
duplicate the Attributes.swift file previously created. The native module
needs access to this code to start the live activity and there is not easy way
to share it between the target and the controller module.
cp targets/widget/Attributes.swift modules/activity-controller/ios/Attributes.swiftWe need the exact same struct on both target and controller. Keep in mind that if you edit one of them, you have to duplicate the changes in the other one. Regenerate and re-open the project in XCode.
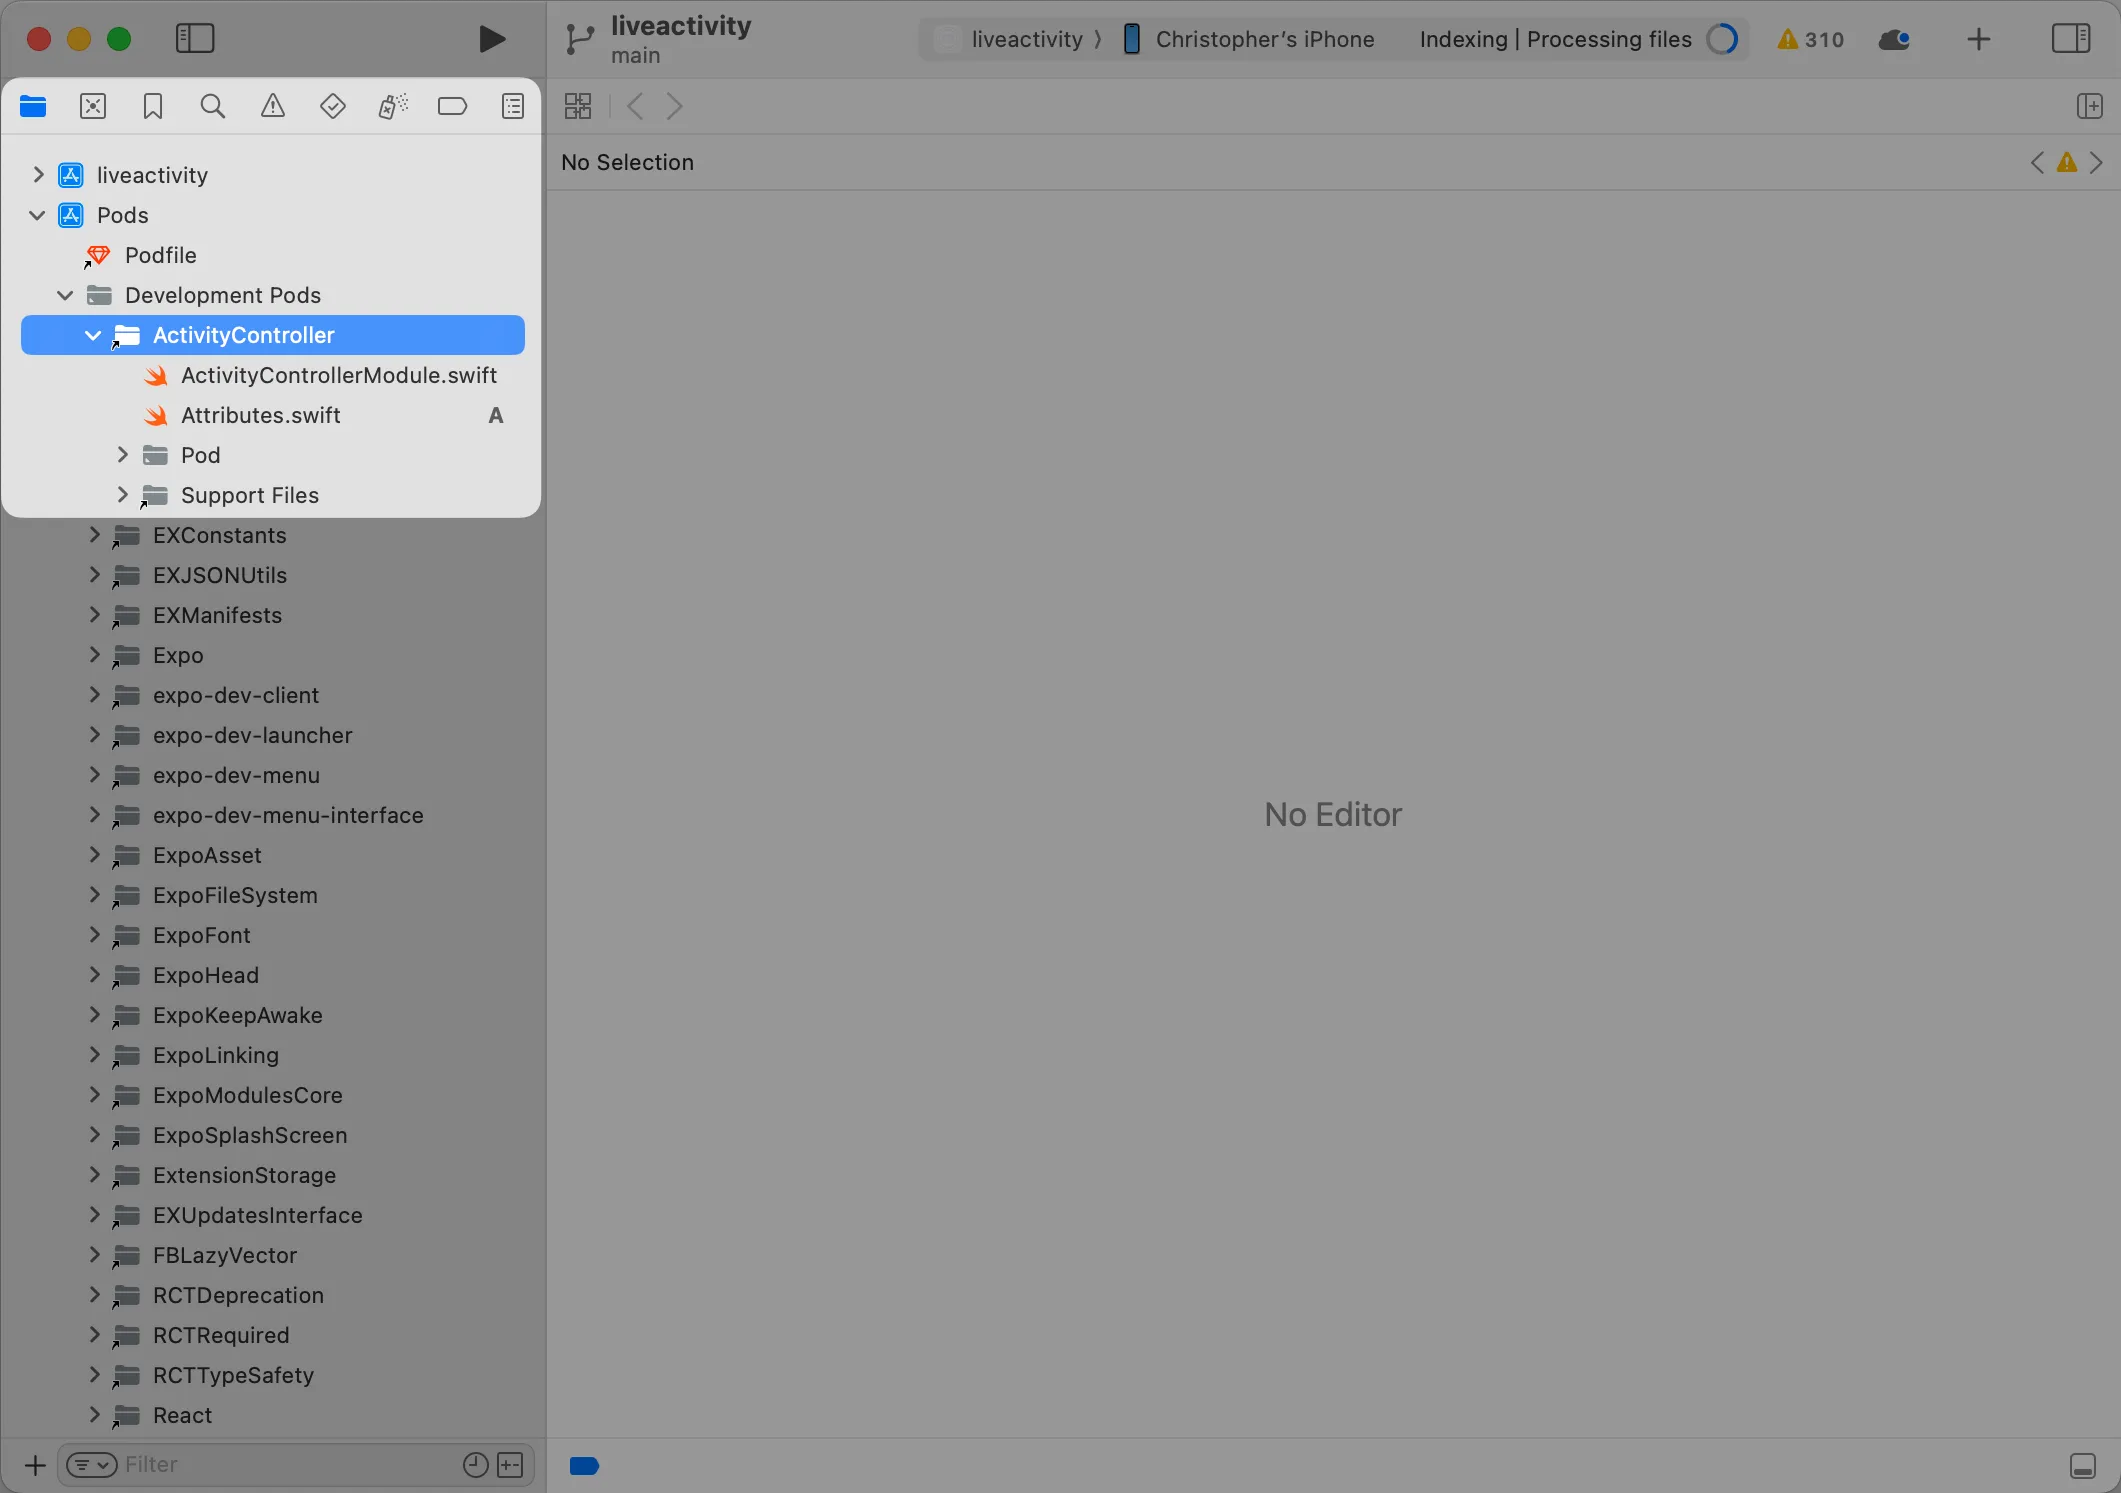
rm -rf iosnpx expo prebuild -p iosxed iosIn the Project Navigator, expands the Pods project, then expand
Development Pods. Look for the ActivityController folder and expand it as
well. This is a symlink to the native module folder we just created earlier.
In the ActivityControllerModule.swift, we’re going to create the function our
Typescript module is calling.
import ActivityKitimport SwiftUIimport ExpoModulesCore
// MARK: Exceptions
final class ActivityUnavailableException: GenericException<Void> {  override var reason: String {    "Live activities are not available on this system."  }}
final class ActivityFailedToStartException: GenericException<Void> {  override var reason: String {    "Live activity couldn't be launched."  }}
final class ActivityNotStartedException: GenericException<Void> {  override var reason: String {    "Live activity has not started yet."  }}
final class ActivityAlreadyRunningException: GenericException<Void> {  override var reason: String {    "Live activity is already running."  }}
final class ActivityDataException: GenericException<String> {  override var reason: String {    "The data passed down to the Live Activity is incorrect. \(param)"  }}
// MARK: Types
struct StartActivityArgs: Codable {  let customString: String  let customNumber: Int
  public static func fromJSON(rawData: String) -> Self? {    let decoder = JSONDecoder()    return try? decoder.decode(self, from: Data(rawData.utf8))  }}
protocol ActivityWrapper {}
@available(iOS 16.2, *)class DefinedActivityWrapper: ActivityWrapper {  private var activity: Activity<MyLiveActivityAttributes>
  init(_ activity: Activity<MyLiveActivityAttributes>) {    self.activity = activity  }
  public func setActivity(activity: Activity<MyLiveActivityAttributes>) {    self.activity = activity  }
  public func getActivity() -> Activity<MyLiveActivityAttributes> {    return self.activity  }}
struct FallbackActivityWrapper: ActivityWrapper {}
struct StartActivityReturnType: Record {  @Field  var activityId: String}
// MARK: Helper functions
func getCurrentActivity() -> ActivityWrapper? {  guard #available(iOS 16.2, *) else {    return nil  }
  if let activity = Activity<MyLiveActivityAttributes>.activities.first {    return DefinedActivityWrapper(activity)  } else {    return nil  }}
func isActivityRunning() -> Bool {  return getCurrentActivity() != nil}
// MARK: Module definition
public class ActivityControllerModule: Module {  private var activityWrapper: ActivityWrapper?
  public func definition() -> ModuleDefinition {    Name("ActivityController")
    Property("areLiveActivitiesEnabled") {      if #available(iOS 16.2, *) {        return ActivityAuthorizationInfo().areActivitiesEnabled      }      return false    }
    AsyncFunction("startLiveActivity") {      (        rawData: String,        promise: Promise      ) in      guard #available(iOS 16.2, *) else {        throw ActivityUnavailableException(())      }
      guard let args = StartActivityArgs.fromJSON(rawData: rawData) else {        throw ActivityDataException(rawData)      }
      guard isActivityRunning() == false else {        throw ActivityAlreadyRunningException(())      }
      let info = ActivityAuthorizationInfo()      guard info.areActivitiesEnabled else {        throw ActivityUnavailableException(())      }
      do {        let activityAttrs = MyLiveActivityAttributes(          customString: args.customString, customNumber: args.customNumber        )        let activityState = MyLiveActivityAttributes.MyLiveActivityState()
        let activity = try Activity.request(          attributes: activityAttrs,          content: .init(state: activityState, staleDate: nil)        )
        log.debug("Started \(activity.id)")
        return StartActivityReturnType(activityId: Field(wrappedValue: activity.id))      } catch let error {        print(error.localizedDescription)        throw ActivityFailedToStartException(())      }    }
    AsyncFunction("stopLiveActivity") { (promise: Promise) in      guard #available(iOS 16.2, *) else {        throw ActivityUnavailableException(())      }
      guard let activity = (getCurrentActivity() as? DefinedActivityWrapper)?.getActivity() else {        throw ActivityNotStartedException(())      }
      log.debug("Stopping activity \(activity.id)")
      Task {        await activity.end(nil, dismissalPolicy: .immediate)        log.debug("Stopped activity \(activity.id)")        return promise.resolve()      }    }
    Function("isActivityRunning") { () -> Bool in      return isActivityRunning()    }  }}
This is a quite a long file that does few things. The first and most important
is that we’re creating a ModuleDefinition that will basically expose functions
we can call or property we can access to, from our Typescript layer. This is an
API given by Expo, through
Expo Modules. Around this class
definition, you can find some helper functions and structs that we’re using just
to make our code more readable.
You can also notice that we’re having a bunch of @available(iOS 16.2, *)
decorators and if checks. This is because Live Activities API doesn’t exist
prior to this iOS version. This is away to avoid our native code calling
something that doesn’t exist on the device.
Let’s try to run our project now.
npx expo run:iosIf you’re project is running, (and it will, because this article is not written
using AI) you’re gucci. Now let’s test our implementation. Go to app/index.tsx
and replace the content with the following code:
import { useState } from "react";import { StyleSheet, View, Text, TouchableOpacity } from "react-native";
import { startLiveActivity, stopLiveActivity, isLiveActivityRunning,} from "#modules/activity-controller";
const styles = StyleSheet.create({ title: { fontSize: 20, textAlign: "center", fontWeight: "bold", marginTop: 10, }, container: { flex: 1, justifyContent: "center", alignItems: "center", }, buttonContainer: { flexDirection: "column", justifyContent: "center", alignItems: "center", marginTop: 10, gap: 5, }, button: { marginTop: 10, padding: 10, borderRadius: 5, backgroundColor: "#007AFF", color: "white", }, buttonText: { fontSize: 16, color: "white", },});
export default function Index() { const [activityIsRunning, setActivityIsRunning] = useState( () => isLiveActivityRunning, );
const handleStartLiveActivity = () => { startLiveActivity({ customString: "Live Activity Testing", customNumber: 123, }); };
const handleStopLiveActivity = () => { stopLiveActivity(); };
return ( <View style={styles.container}> <Text style={styles.title}>Live Activity Testing app</Text> <View style={styles.buttonContainer}> <TouchableOpacity style={styles.button} onPress={handleStartLiveActivity} > <Text style={styles.buttonText}>Start Live Activity</Text> </TouchableOpacity>
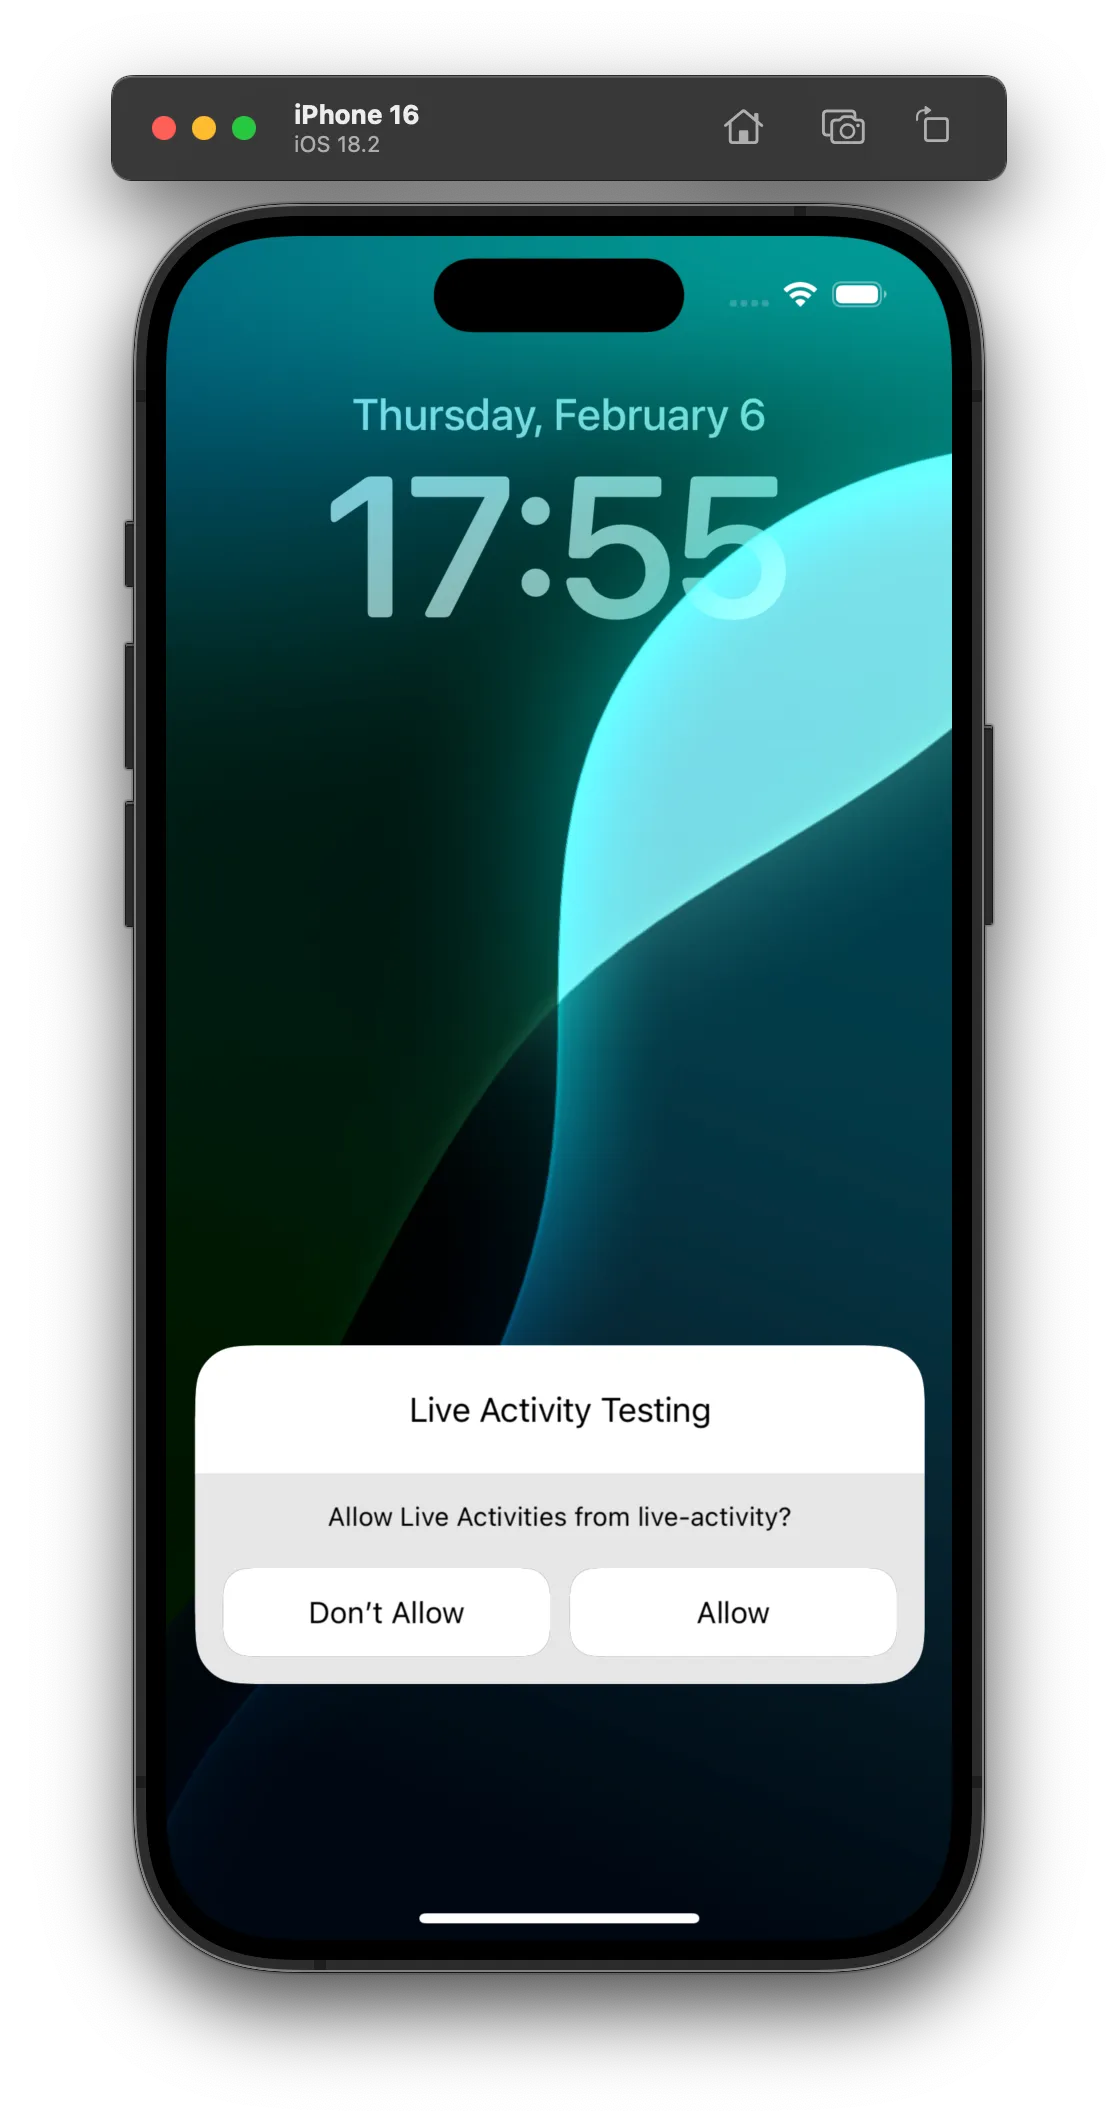
<TouchableOpacity style={styles.button} onPress={handleStopLiveActivity} > <Text style={styles.buttonText}>Stop Live Activity</Text> </TouchableOpacity> </View> </View> );}It gives you a view with two buttons, one to start the live activity and one to stop, using our native module typescript interface. Check your simulator, press the “Start the live activity” button and lock the simulator. You should see it!
This is a bare example of how to use Expo, Expo Module, Expo Apple Targets and SwiftUI to create something that isn’t available out of the box with React Native.
This is just the beginning, but enough and prod ready to make stuff that are deeply integrated with iOS. In the next article, I’ll experiment with bi-directional interaction between the widget and the Typescript code, and code sharing between the target and the native module. I hope you enjoyed this article and found it useful! If you have any question, feel free to reach out on Bluesky or Twitter.
Happy Hacking!
All the code used in this article is avaiable on my GitHub repo